Let’s be real for a moment. You’ve crafted the perfect salad—crisp lettuce, vibrant veggies, maybe some grilled chicken or chickpeas. And then you reach for that bottle of store-bought dressing. You glance at the label and see a list of ingredients you can’t pronounce. It’s a tale as old as time. But what if I told you the secret to restaurant-quality, ridiculously fresh, and healthy salad dressing is already sitting on your counter? Learning how to make salad dressing with a blender, specifically your personal blender, is an absolute game-changer. It’s not just about mixing ingredients; it’s about unlocking a new level of flavor and simplicity in your healthy lifestyle journey.
Forget whisking until your arm aches. We’re talking about creating silky-smooth, perfectly emulsified dressings in under five minutes. This guide will walk you through everything, from the basic science to drool-worthy recipes that will make you ditch bottled dressings for good. For a deeper dive into creative blender concoctions, you might find some inspiration in these trending TikTok blender recipes.
Why Use a Blender for Salad Dressing?
So, why bother with a blender when a simple jar and a good shake seem to do the trick? The answer lies in one beautiful, scientific word: emulsification. An emulsion is a mixture of two liquids that don’t normally mix, like oil and vinegar. A blender’s high-speed blades break down the oil into microscopic droplets, dispersing them evenly throughout the vinegar. This creates a stable, creamy, and cohesive dressing that clings lovingly to your greens instead of pooling at the bottom of the bowl.
Expert Take: According to culinary scientist Dr. Alistair Finch, “The sheer force of a blender’s vortex is unparalleled for creating a tight emulsion. It produces a dressing with superior texture and mouthfeel that manual whisking simply cannot replicate. The result is more flavor in every single bite.”
Using a blender also allows you to incorporate ingredients you couldn’t otherwise, like fresh herbs, garlic cloves, nuts, or even fruit, creating complex flavors that are impossible to achieve by hand.
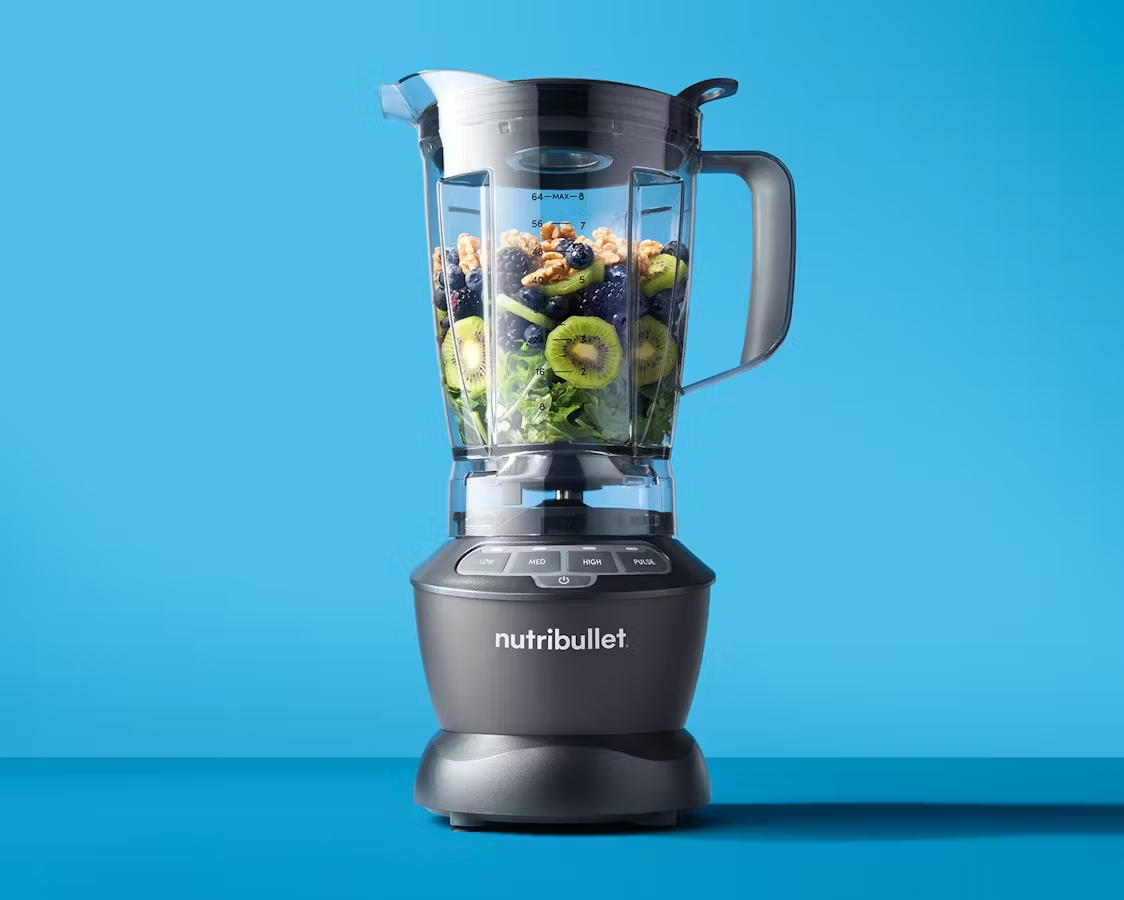
The Personal Blender: Your Dressing’s Best Friend
While any blender can do the job, a personal blender is the undisputed champion for making salad dressings. Why? It’s all about scale and convenience.
A personal blender is designed for single-serve portions, which is perfect for whipping up a fresh batch of dressing for the next few days. There’s no need to dirty a huge, cumbersome pitcher for a small amount of liquid. The compact size means the blades make better contact with the ingredients, ensuring everything gets perfectly pulverized and mixed, even in small quantities. And the best part? The cleanup is a breeze. Just a quick rinse with soap and water, and you’re done.
Who is a Personal Blender For?
- The Busy Professional: Needs quick, healthy meal components without the fuss.
- The Health Enthusiast: Wants full control over ingredients, avoiding preservatives and excess sugar.
- The Student in a Dorm: Limited on space but not on the desire for good food.
- The Small Household: Doesn’t need to make family-sized portions of everything.
Your Ultimate Guide: How to Make Salad Dressing with a Blender
Ready to become a dressing-making pro? It’s easier than you think. It all starts with a basic formula that you can customize endlessly.
The Golden Ratio: A Foolproof Formula
Think of this as your starting point. From here, you can get as creative as you like.
- 3 parts Oil: Extra virgin olive oil is a classic. Avocado oil is great for a neutral flavor, while sesame or walnut oil can add a nutty depth.
- 1 part Acid: This is your tangy element. Balsamic vinegar, apple cider vinegar, red wine vinegar, fresh lemon juice, or lime juice all work wonderfully.
- A Touch of Emulsifier (The Secret Ingredient): This helps bind the oil and acid. A teaspoon of Dijon mustard, a dollop of tahini, a little honey, or even an avocado chunk works miracles.
- Flavor & Seasoning: This is where you shine! A clove of garlic, a shallot, fresh herbs like basil or dill, a pinch of salt, a crack of black pepper, or a dash of maple syrup for sweetness.
Step-by-Step Instructions
- Add Liquids & Solids First: Place your acid (vinegar, citrus juice), emulsifier (mustard, honey), and any solid flavorings (garlic, shallots, herbs) into the personal blender cup.
- Season Well: Add your salt, pepper, and any other dried spices.
- Blend Briefly: Give it a quick 5-10 second pulse to chop up the solids and combine the base.
- Add the Oil: Pour in your oil. With a personal blender, you don’t need to drizzle it in slowly like with a food processor; just add it all at once.
- Blend to Perfection: Secure the blade assembly and blend on high for about 30-45 seconds. You’ll see the mixture transform into a creamy, cohesive, and perfectly emulsified dressing.
- Taste and Adjust: Pour it out, give it a taste, and adjust the seasoning if needed. Needs more tang? Add a squeeze of lemon. Not sweet enough? A tiny bit more honey.
3 Killer Recipes to Get You Started
1. Creamy Avocado-Cilantro Dressing
- 1/2 ripe avocado
- Juice of 1 lime
- 1/4 cup water (or more, for desired consistency)
- 1/2 cup fresh cilantro
- 1 small garlic clove
- 1/4 tsp salt
Instructions: Combine all ingredients in your personal blender and blend until smooth and creamy. Perfect for taco salads or as a dip.
2. Classic Balsamic Vinaigrette
- 3/4 cup extra virgin olive oil
- 1/4 cup balsamic vinegar
- 1 tsp Dijon mustard
- 1 small garlic clove, smashed
- 1/2 tsp salt
- 1/4 tsp black pepper
Instructions: Combine everything but the oil and pulse. Add the oil and blend for 30 seconds until thick and emulsified. An absolute classic.
3. Zesty Lemon Tahini Dressing
- 1/4 cup tahini
- Juice of 1 large lemon
- 1 tbsp maple syrup
- 1 garlic clove
- 4-5 tbsp water to thin
- Pinch of salt
Instructions: Blend all ingredients until silky smooth. You may need to add water one tablespoon at a time until you reach your desired consistency. Incredible on grain bowls or roasted vegetables.
Beyond Dressings: Unlocking Your Blender’s Potential
Once you master dressings, you’ll realize your personal blender is a kitchen powerhouse. It’s not just a one-trick pony for smoothies. You can use the exact same principles to create a world of other delicious things. For instance, creating a fresh dip is remarkably similar to making a dressing. A detailed guide to a salsa recipe blender can show you how to easily expand your culinary repertoire.
Other ideas include:
- Sauces and Marinades: Think homemade pesto, chimichurri, or a quick teriyaki marinade.
- Dips and Spreads: Hummus, bean dips, or creamy feta spreads.
- Nut Butters: If you have a powerful model, you can make small-batch almond or peanut butter.
- Grinding Spices: Use it to grind whole spices or even coffee beans in a pinch.
Personal Blender vs. Traditional Blender: What’s the Difference?
While both can make a dressing, they are designed for different tasks. Here’s a quick breakdown:
| Feature | Personal Blender | Traditional Blender |
|---|---|---|
| Capacity | Small (8-24 oz) | Large (48-64 oz) |
| Best For | Single servings, dressings, small batches | Large batches, soups, family smoothies |
| Footprint | Compact, easy to store | Bulky, takes up counter space |
| Cleanup | Very easy, often dishwasher-safe cups | More complex, multiple parts to wash |
| Power | Moderate (250-900 watts) | High (1000+ watts) |
For the specific task of making salad dressing, the personal blender wins on efficiency and convenience every time.
Tips for Cleaning and Maintaining Your Personal Blender
To keep your blender in top-notch condition for all your dressing-making adventures, follow these simple steps:
- Immediate Rinse: As soon as you’re done, rinse the cup and blade assembly under hot water to prevent ingredients from drying on.
- The 30-Second Self-Clean: Fill the cup halfway with warm water, add a drop of dish soap, secure the blade, and blend for 20-30 seconds.
- Rinse and Dry: Pour out the soapy water, give it a final rinse, and let the parts air dry completely before reassembling.
- Deep Clean: For stubborn smells or stains, a mixture of vinegar and water or baking soda and water, blended for 30 seconds, can work wonders.
Frequently Asked Questions (FAQ)
Can you make thick dressings like ranch in a personal blender?
Absolutely. A personal blender is perfect for it. For thick, creamy dressings, use a base of Greek yogurt, sour cream, or soaked cashews. The powerful motor will blend it to a perfectly smooth consistency.
How long does homemade blender dressing last?
Generally, a vinaigrette will last for up to two weeks in an airtight container in the fridge. Dressings with fresh ingredients like herbs, garlic, or dairy will last for about 5-7 days.
What’s the best oil to use for blender salad dressings?
Extra virgin olive oil is a healthy and flavorful classic for most vinaigrettes. For a neutral taste that lets other ingredients shine, use avocado oil or grapeseed oil.
My dressing isn’t emulsifying, what did I do wrong?
This usually means your oil-to-acid ratio is off or you didn’t use an effective emulsifier. Try adding a bit more acid (vinegar/lemon juice) or an emulsifier like Dijon mustard and blend again.
Is it better to use a personal blender or a full-sized one for dressings?
For most homemade dressing recipes, which are typically small-batch, a personal blender is far better. It’s more efficient, wastes less product, and is significantly easier to clean.
Your Journey to Better Salads Starts Now
Embracing how to make salad dressing with a blender is more than just learning a new kitchen hack; it’s about taking control of your food in a simple, delicious, and incredibly satisfying way. You’re not just making a dressing; you’re elevating a meal, nourishing your body with fresh ingredients, and saving money in the process. Your Personal Blender is the key. So go ahead, grab that cup, toss in some ingredients, and blend your way to a brighter, tastier, and healthier plate.