Craving a velvety, warm soup or a perfect homemade sauce? You’ve got your ingredients ready, and your blender is on the counter. But before you pour that steaming concoction in, let’s talk. Knowing How To Blend Hot Liquids Safely is the one skill that separates a delicious, creamy meal from a kitchen disaster—we’re talking potential burns and a Jackson Pollock-esque splatter on your ceiling. It sounds dramatic, but the science is real. Don’t worry, though. As the expert voice for Personal Blender, I’m here to walk you through everything, making sure your blending experience is smooth, safe, and successful every single time.
Why Blending Hot Liquids Can Be Dangerous: The Science Bit
Ever wondered why putting hot soup in a sealed blender is a recipe for disaster? It’s not the blender’s fault; it’s basic physics. When you blend hot liquids, the heat and the rapid motion of the blades generate a massive amount of steam. In a sealed container, like most personal blenders, that steam has nowhere to go.
Think of it like a pressure cooker without a release valve. The pressure builds up fast. This can cause the lid to fly off with explosive force, sending scalding liquid everywhere. It’s a serious safety risk that can lead to severe burns and a monumental mess. Understanding this pressure problem is the first step in learning how to blend hot liquids safely.
The Golden Rules for Blending Hot Soup and Sauces
If you’re using a traditional countertop blender with a vented lid, you’re in luck. These are designed to handle the pressure. Just follow these steps religiously, and you’ll be golden.
- Cool It Down (Just a Little): Never pour boiling liquid directly from the stove into your blender. Let it cool for at least 5-10 minutes. It should still be hot, but not bubbling and steaming furiously. This reduces the initial amount of steam you’re dealing with.
- The Half-Full Rule: This is non-negotiable. Never fill the blender more than halfway, or a third full if you’re being extra cautious. The extra space gives the steam room to expand without building up dangerous levels of pressure.
- Vent, Vent, Vent!: Your blender lid likely has a removable plastic cap in the center (the filler cap). Take it out. This is the single most important step. This opening allows steam to escape safely, preventing that pressure bomb scenario.
- Cover Up: Place a folded dish towel over the lid opening. Hold it down firmly with your hand while blending. This prevents any hot liquid from splashing out the top while still allowing steam to escape through the towel’s porous fabric.
- Start Low, Go Slow: Don’t crank the blender to high speed immediately. Start on the lowest setting and gradually increase the speed. This introduces air slowly and helps manage the blending vortex, minimizing sudden splashes and pressure changes.
- Work in Batches: If you have a large pot of soup, don’t try to blend it all at once. Work in small, manageable batches, remembering the half-full rule each time. It takes a few extra minutes, but your safety is worth it.
Expert Take: As a long-time recipe developer, I’ve seen my share of kitchen mishaps. The most common one I hear about is the “blender-pocalypse.” Following these steps, especially venting the lid and starting slow, isn’t just a suggestion—it’s the core principle of how to blend hot liquids safely and professionally.
Can You Use a Personal Blender for Hot Liquids?
This is a question we get all the time, and the answer requires some honest talk. Generally, no, you should not use a personal blender for hot liquids.
Your beloved personal blender, the one you use for your morning smoothies and protein shakes, is an incredible tool. It’s designed for speed, convenience, and portability. Its power comes from its compact, sealed design—you screw the blade base on, flip it over, and blend. That sealed design is precisely what makes it a powerhouse for cold ingredients and a hazard for hot ones.
There is no vent. There is no escape route for the steam. Putting hot soup in a sealed personal blender cup creates that exact pressure cooker bomb we talked about earlier. Many brands, including NutriBullet and Ninja, explicitly state in their manuals not to use their single-serve cups for hot or carbonated ingredients.
What’s the Alternative for Small Batches?
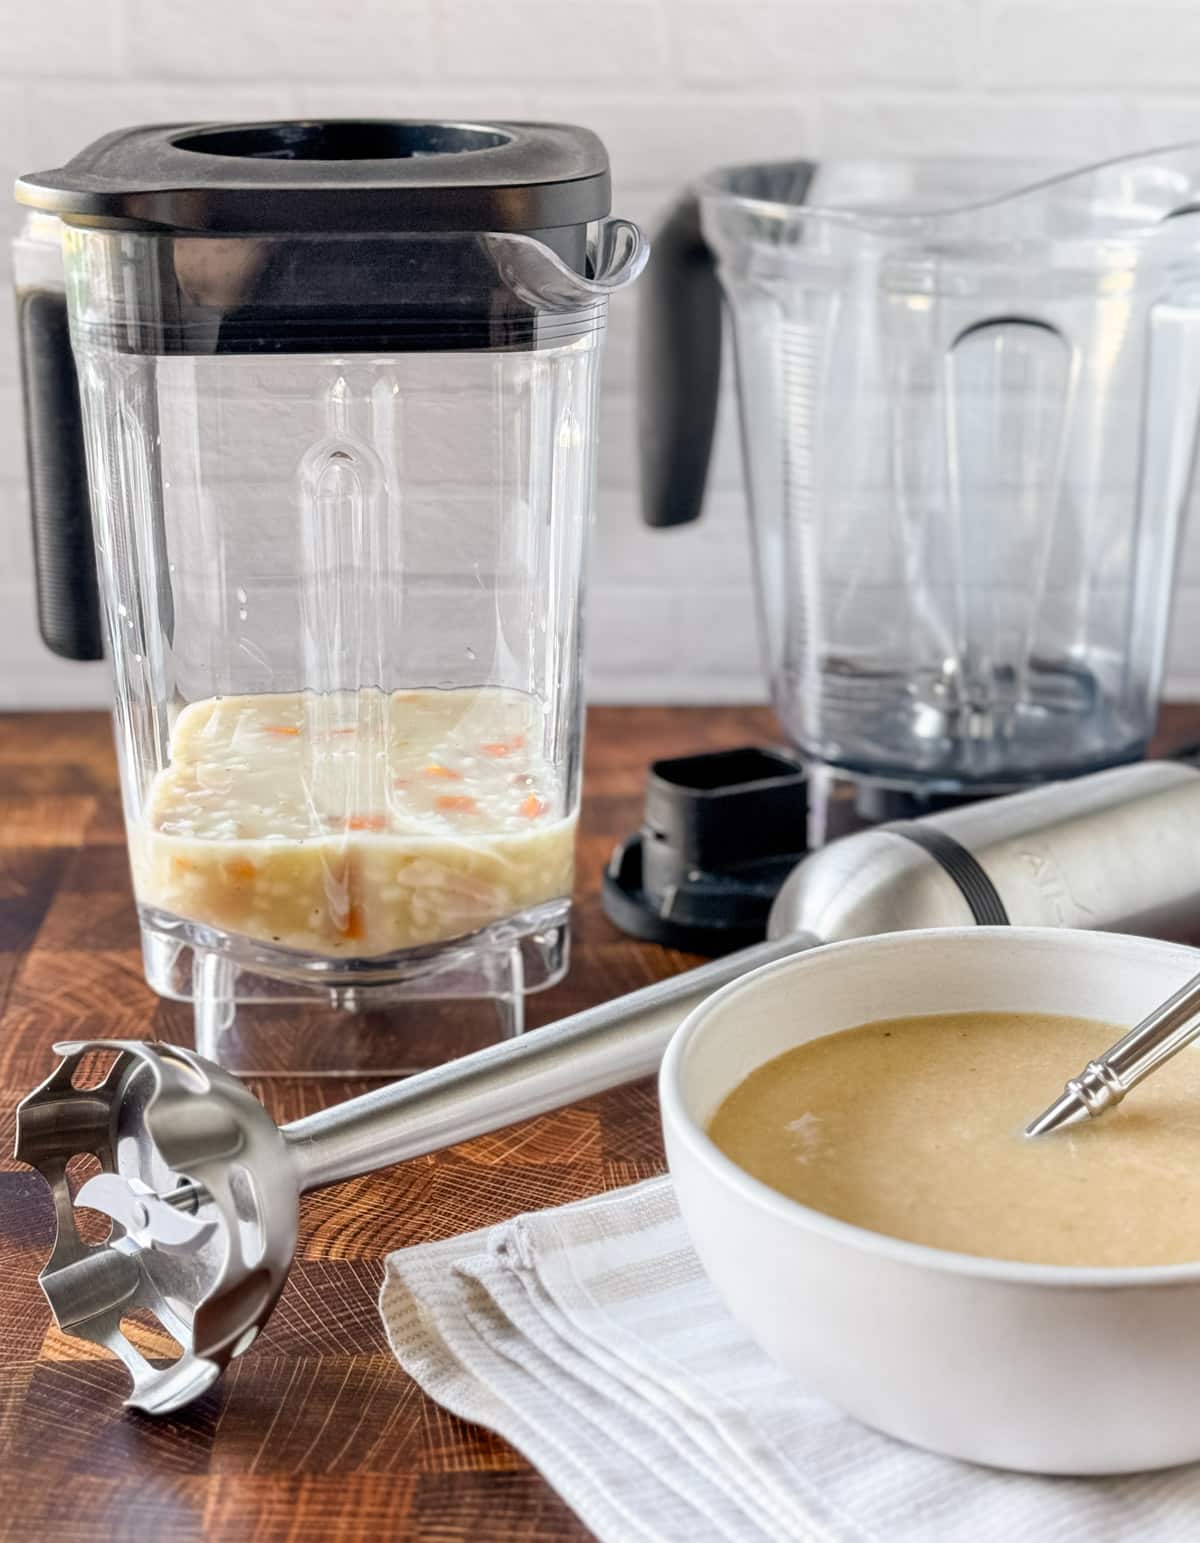
If you live in a small space or usually only cook for one or two, what’s the solution? An immersion blender (or stick blender) is your best friend. You can blend the soup directly in the pot, giving you total control and eliminating the need to transfer hot liquids back and forth. It’s a fantastic, safe alternative.
Traditional Blender vs. Immersion Blender for Hot Liquids
To make it crystal clear, let’s break down the best tools for the job when heat is involved.
| Feature | Traditional Countertop Blender | Immersion (Stick) Blender | Personal Blender (Sealed Cup) |
|---|---|---|---|
| Venting | Yes (removable filler cap) | Not applicable (open system) | No (sealed container) |
| Safety with Heat | Excellent (when used correctly) | Excellent | Dangerous – Not Recommended |
| Texture | Can achieve the smoothest, silkiest texture. | Good texture, but can be slightly less uniform. | N/A for hot liquids. |
| Convenience | Requires transferring liquid to the jar. | Blends directly in the pot. Very little mess. | N/A for hot liquids. |
| Best For | Large batches, ultra-smooth soups, sauces. | Soups, sauces, purées directly in the cooking pot. | Smoothies, protein shakes, cold sauces, dressings. |
As you can see, the right tool makes all the difference. While we’re passionate about the power of a great personal blender for your daily routine, we’re even more passionate about your safety in the kitchen.
Tips for Cleaning and Maintaining Your Blender
After safely blending your delicious creation, cleaning is the next step. A clean blender is a happy, long-lasting blender.
- Immediate Rinse: Don’t let the remnants of your soup or sauce dry in the blender jar. As soon as you’re done, give it a quick rinse with warm water.
- The Soap Trick: Fill the blender jar halfway with warm water and add a drop of dish soap.
- Blend It Clean: Put the lid back on (you can leave the filler cap in for this part) and blend on low for 30 seconds. The soapy water will clean the blades and the inside of the jar.
- Rinse and Dry: Pour out the soapy water, rinse thoroughly, and let it air dry upside down to prevent water spots.
- Deep Clean: For a deeper clean, occasionally disassemble the base and blade gasket (if your model allows) and wash them by hand. Check your blender’s user manual for specific instructions.
FAQ: Your Hot Blending Questions Answered
We’ve compiled some of the most common questions we hear about this topic to give you quick, clear answers.
What happens if you blend hot liquid in a NutriBullet?
Blending hot liquid in a NutriBullet or similar sealed personal blender is extremely dangerous. The build-up of steam pressure can cause the cup and blade assembly to separate violently, spraying hot liquid and potentially causing severe burns or damage to the unit.
How long should I let soup cool before blending?
A good rule of thumb is to let it sit off the heat for 5-10 minutes. It should still be hot enough to serve, but not at a rolling boil. This significantly reduces the amount of steam produced during blending.
Can I put boiling water in a blender?
No, you should never put boiling water or any boiling liquid in a blender. Even with a vented blender, the initial burst of steam can be overwhelming and unsafe. Always allow liquids to cool slightly first.
Is an immersion blender better for hot soup?
For safety and convenience, an immersion blender is often a better choice for hot soups. It allows you to blend directly in the pot, eliminating the risks associated with transferring hot liquids and pressure build-up. However, a traditional blender will often yield a smoother, more velvety final texture.
How do I know if my blender lid is vented?
A vented lid will have a removable piece in the center, often made of clear plastic. This is called the filler cap or vent cap. If your lid is a single, solid piece that screws or snaps on, it is not vented and should not be used for hot liquids.
Your Journey to Perfect Blends
Mastering how to blend hot liquids safely opens up a whole new world of culinary possibilities, from creamy tomato soups and silky butternut squash purées to rich gravies and sauces. It’s all about understanding the “why” behind the rules—it’s all about that steam pressure. By choosing the right tool for the job and following these simple safety steps, you can blend with confidence. While your Personal Blender remains the undefeated champion for your on-the-go cold smoothies, having the right knowledge for every kitchen task makes you a smarter, safer, and more creative cook.